After 10 years of renovations, we are close to being finished with the Cabbage Lakehouse.
Our journey began in 2015 when we purchased a foreclosed cottage on Houghton Lake in Michigan. Little did we know the challenges that we would face renovating it. We were not newcomers to remodeling or building. In our early 20s, we bought our first home and remodeled the entire house, despite having little experience at the time. After a few more homes, we designed and built our dream home in our early 30s.
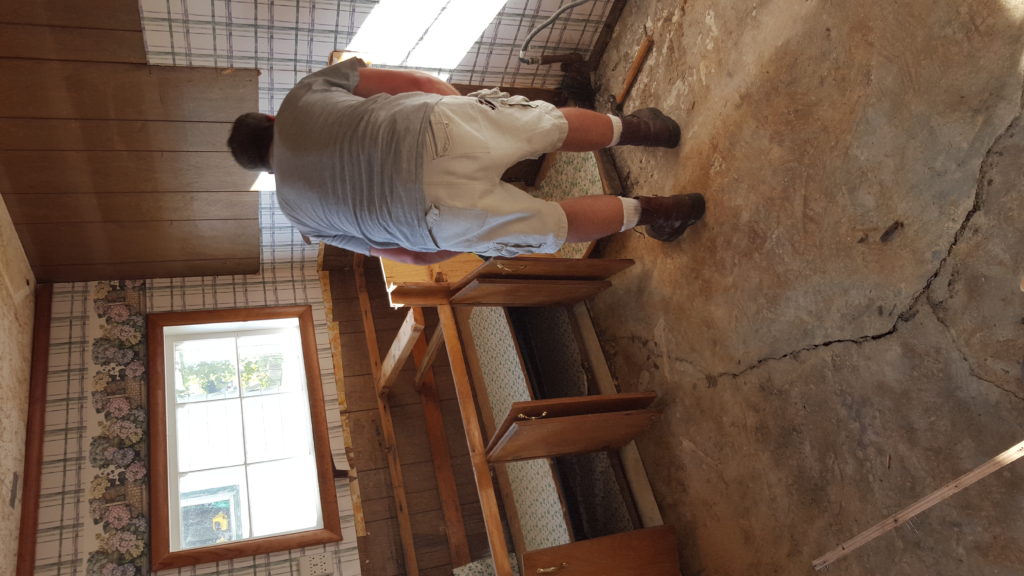
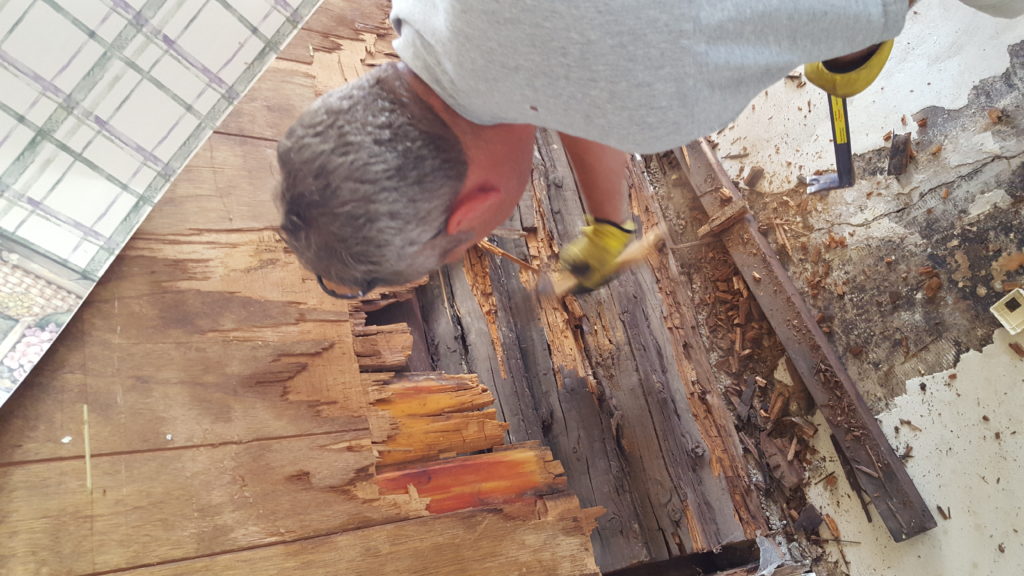
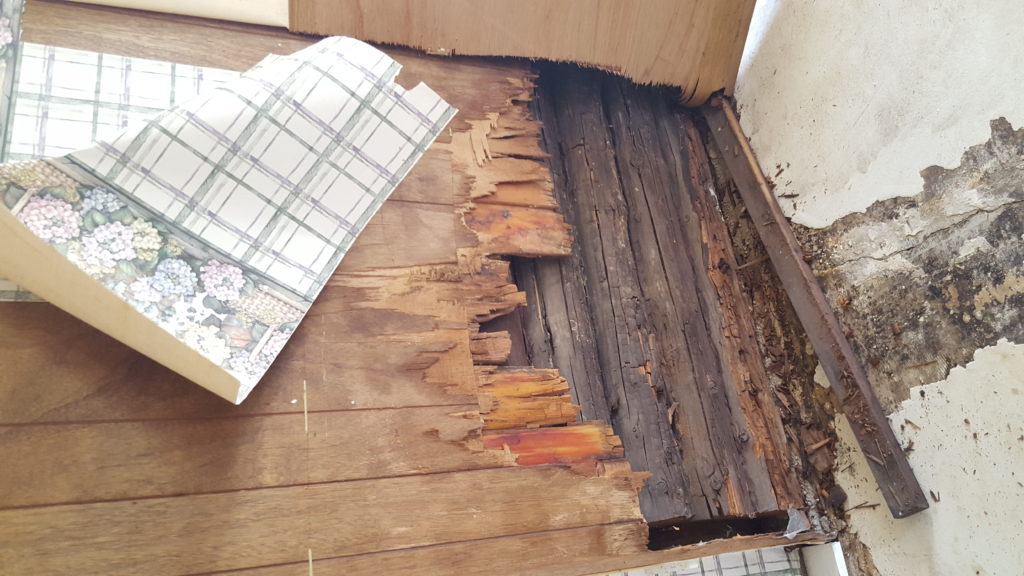
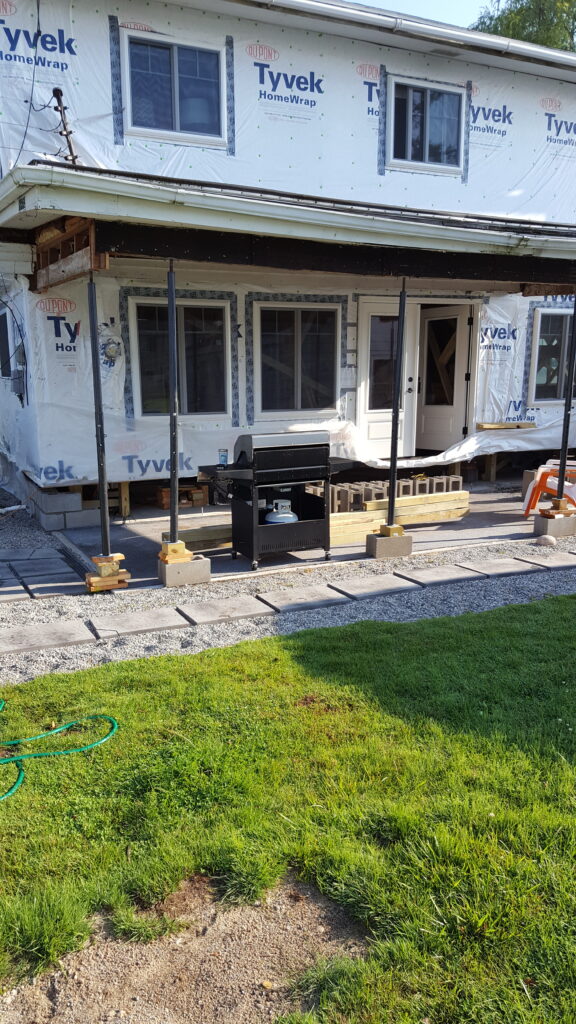
We had no idea we would completely transform the space, including raising the structure and adding a new foundation. We handled most of the demo and the rebuild ourselves. The mechanical work and drywall installation were contracted out. Due to the distance from our permanent home, we could only work on the cottage most weekends. We held a tight budget during the renovation. Doing many things ourselves helped, and also purchasing items on clearance or at resale shops.
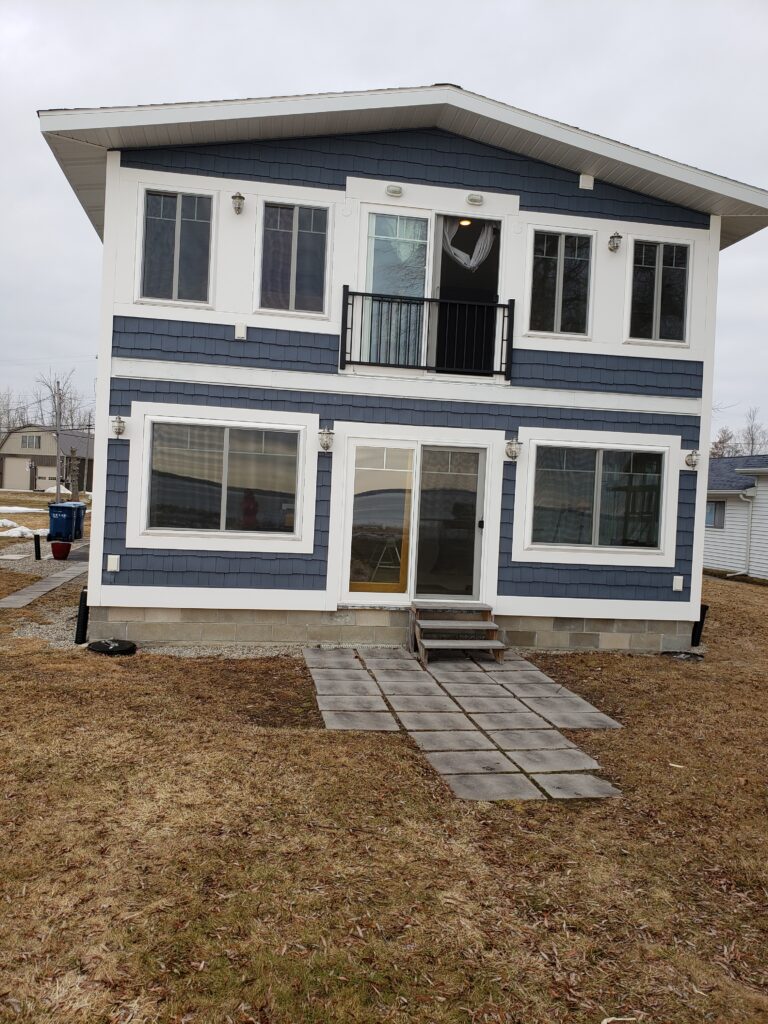
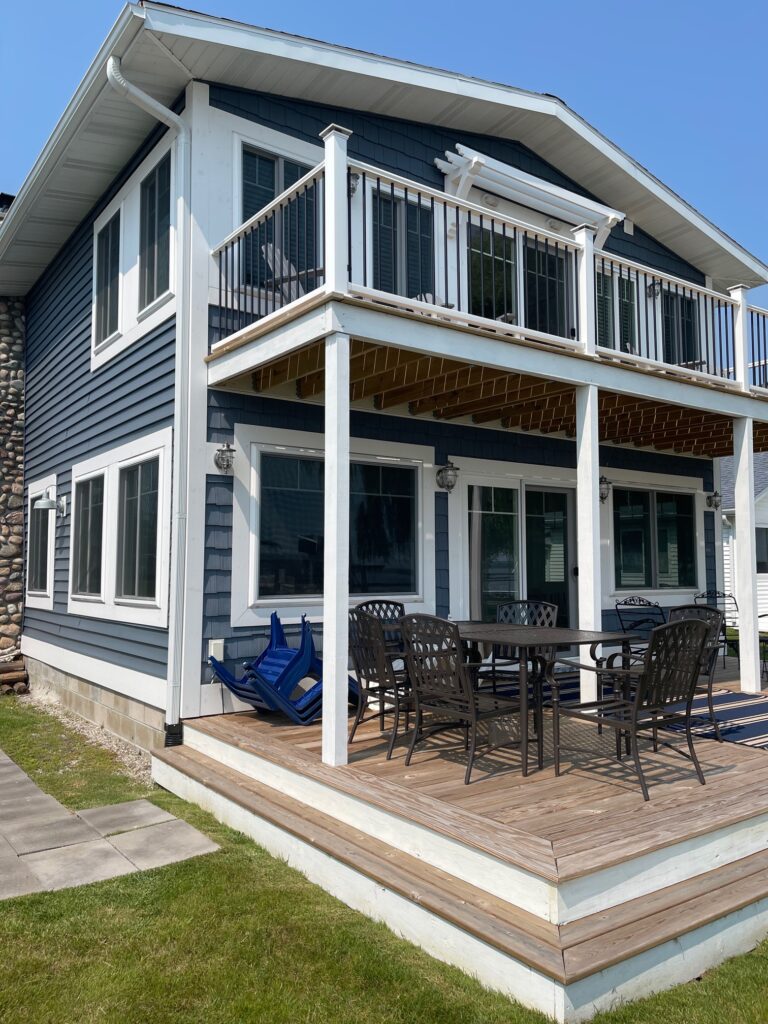
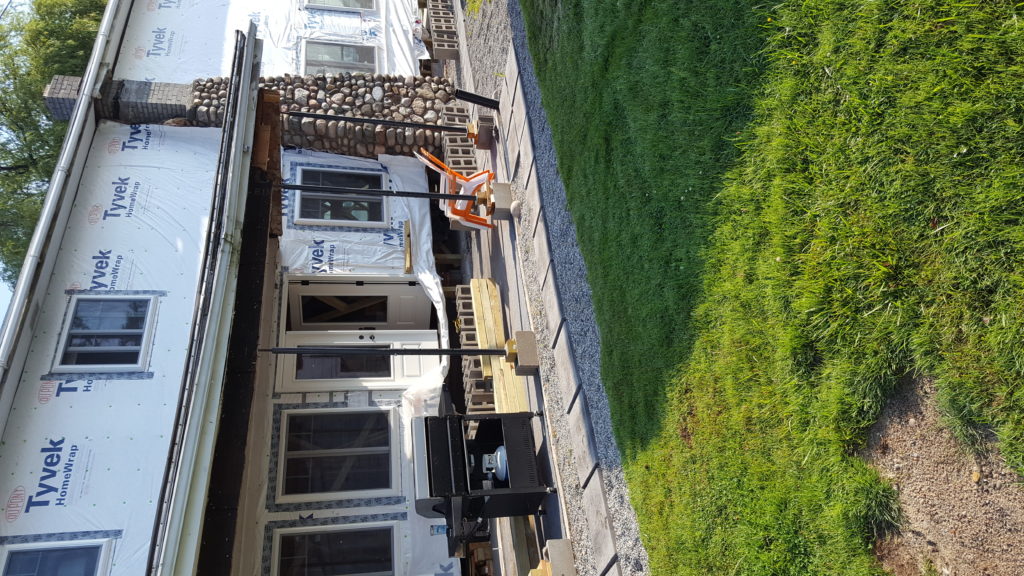
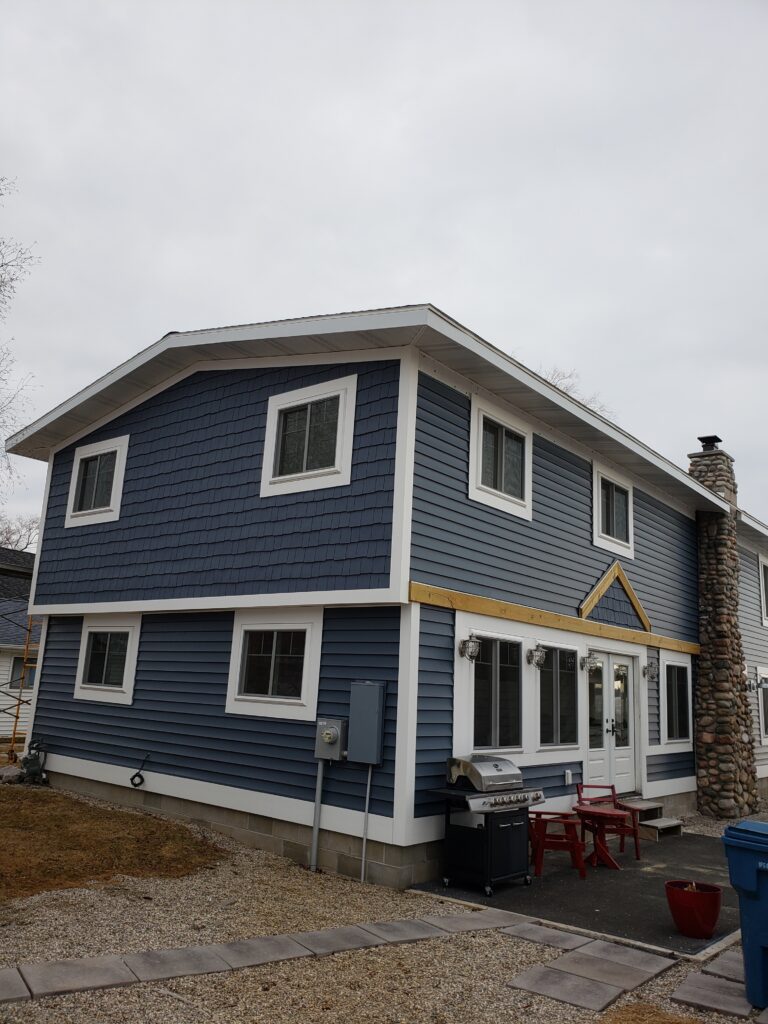
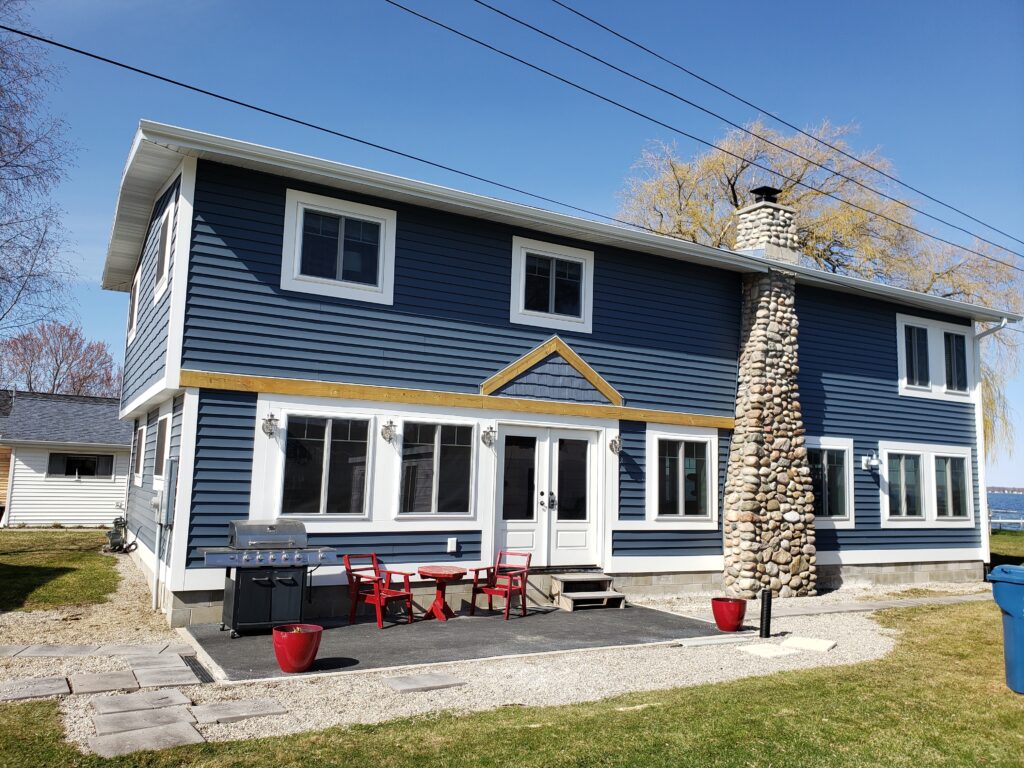
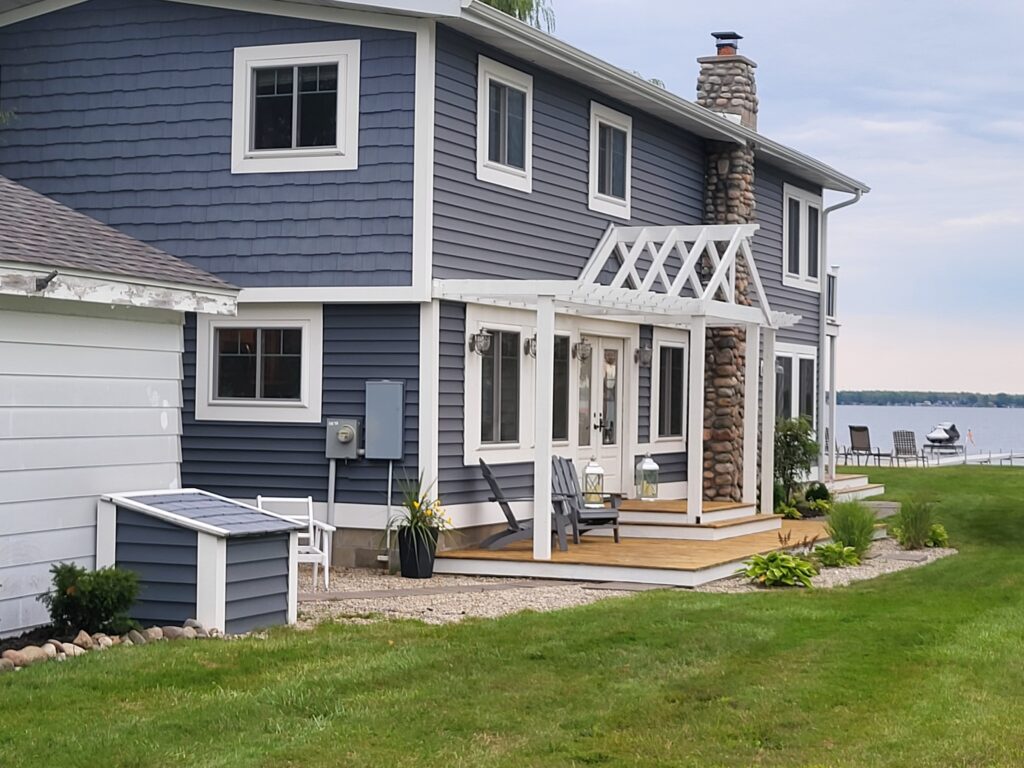
Below is some of the before and after of our 10-year project. Here is the lakeside renovation.
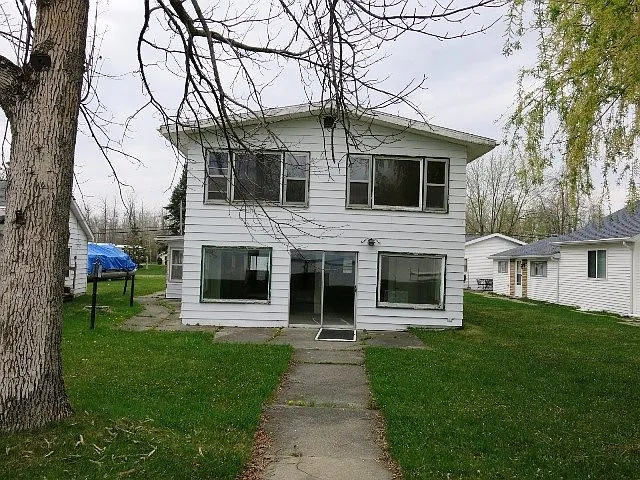
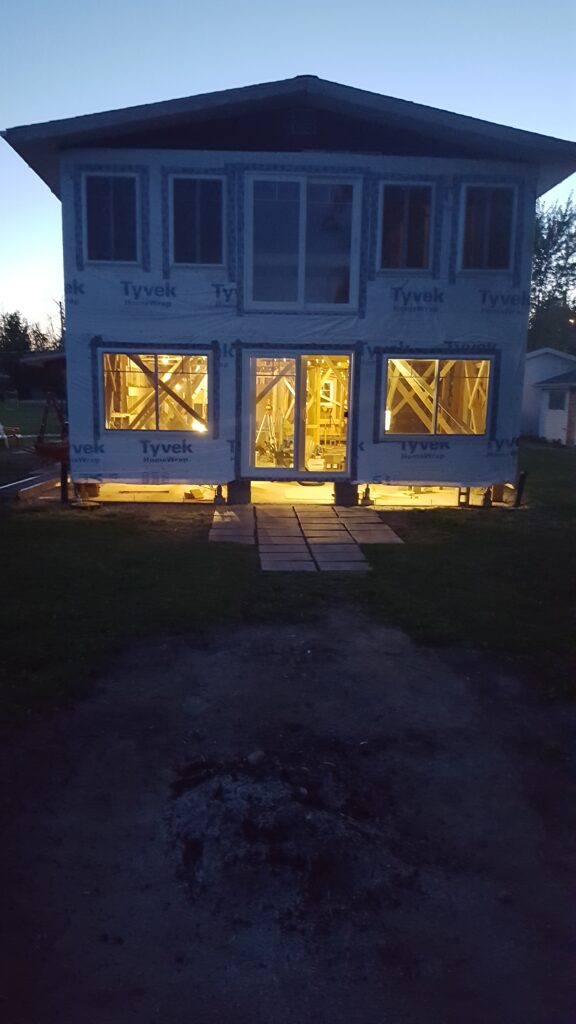
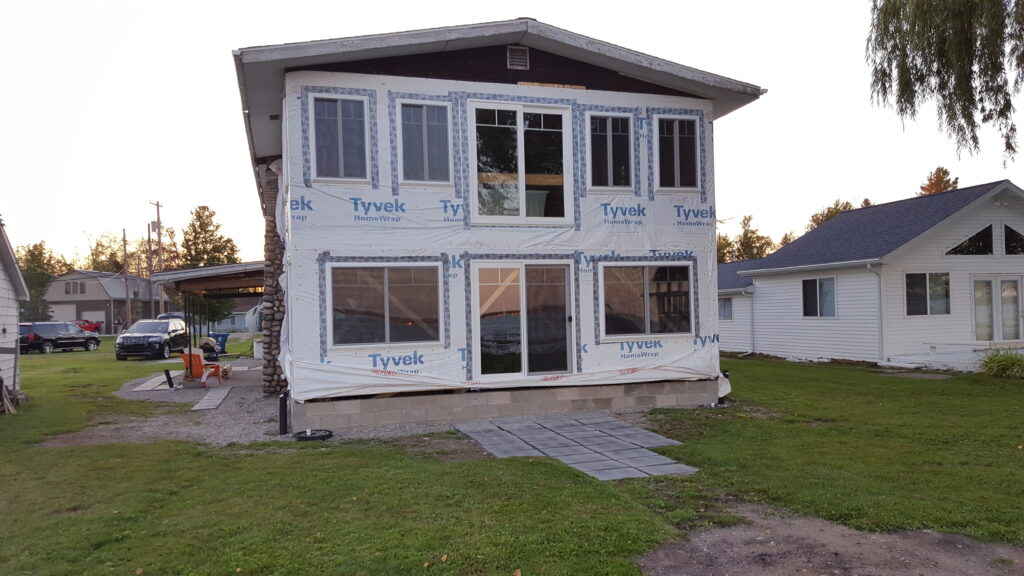
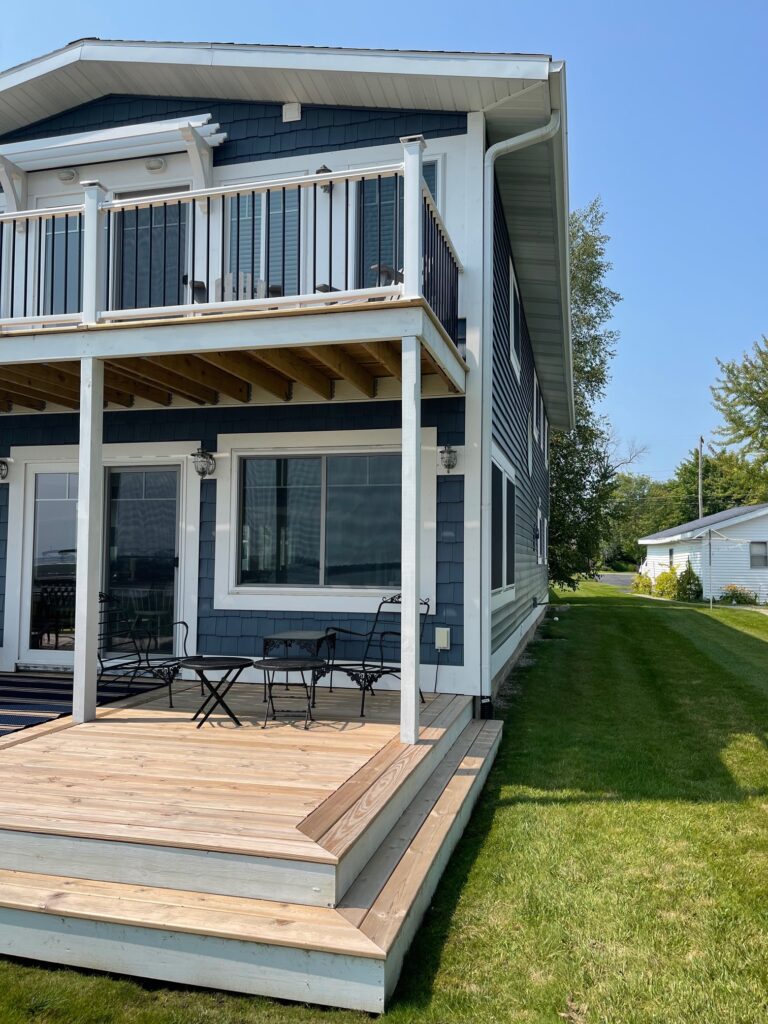
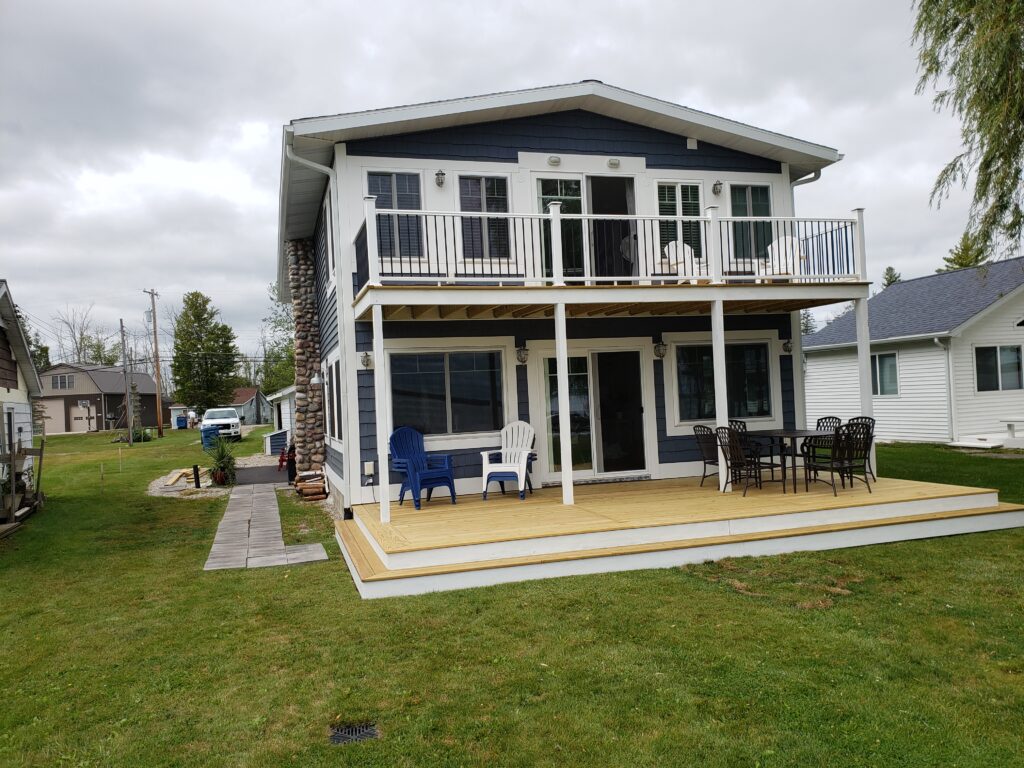
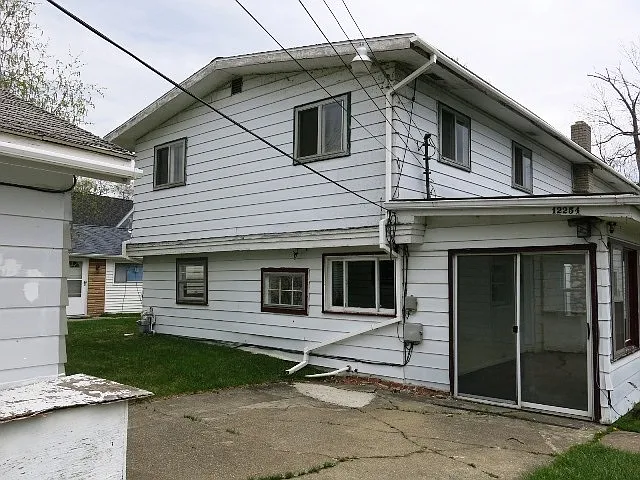
Below is our renovated cottage entrance. The first on the left was the original to the cottage. It had a sunroom attached to the side with windows and a small door. This sunroom made the kitchen feel very dark. We ended up taking the sunroom off the side of the house after we raised it. I was looking to change the entrance of the cottage, and due to cost, we decided that a new sunroom was not worth the extra cost.
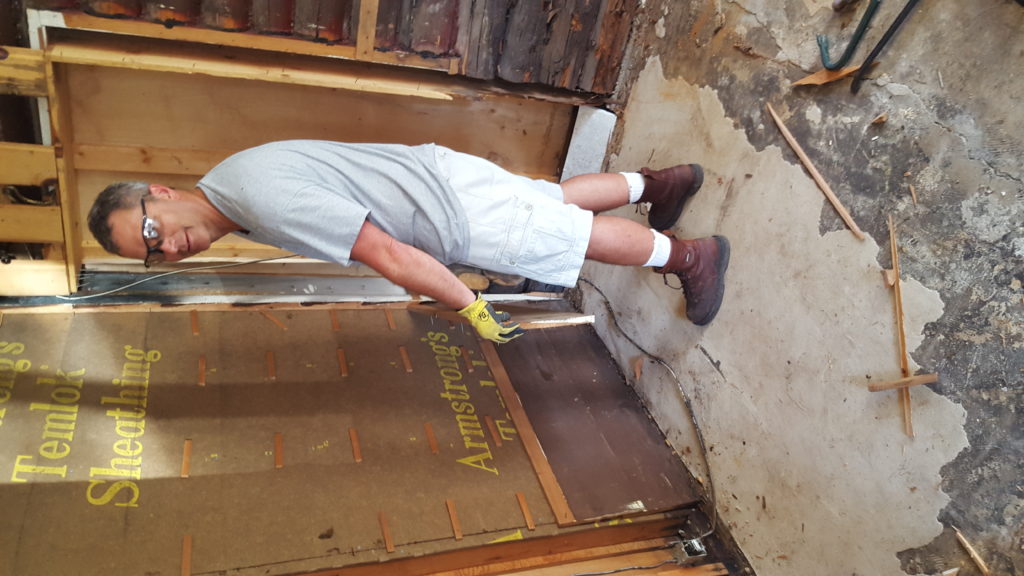
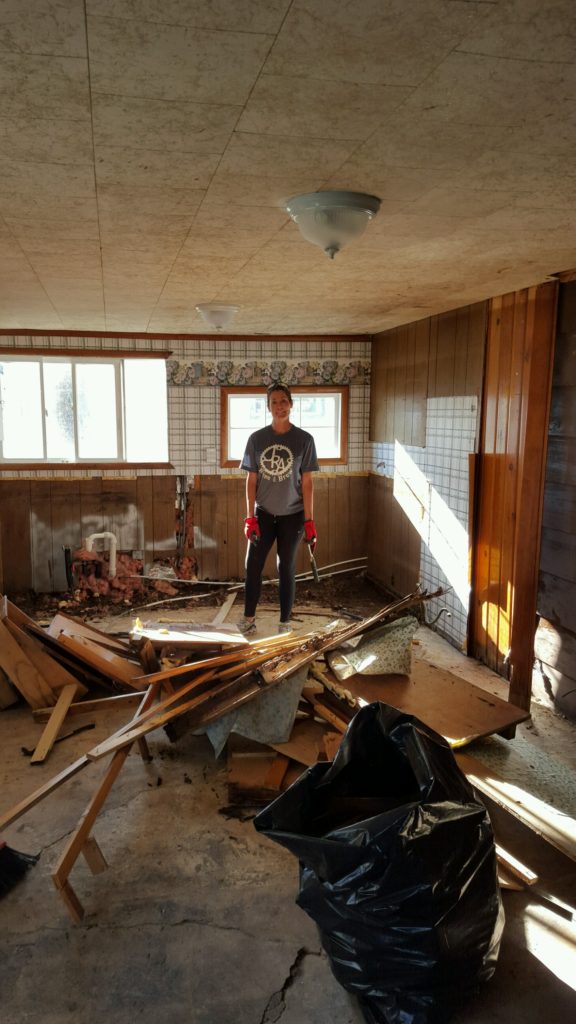
The Interior Renovation
Interior Renovations
Interior Renovations
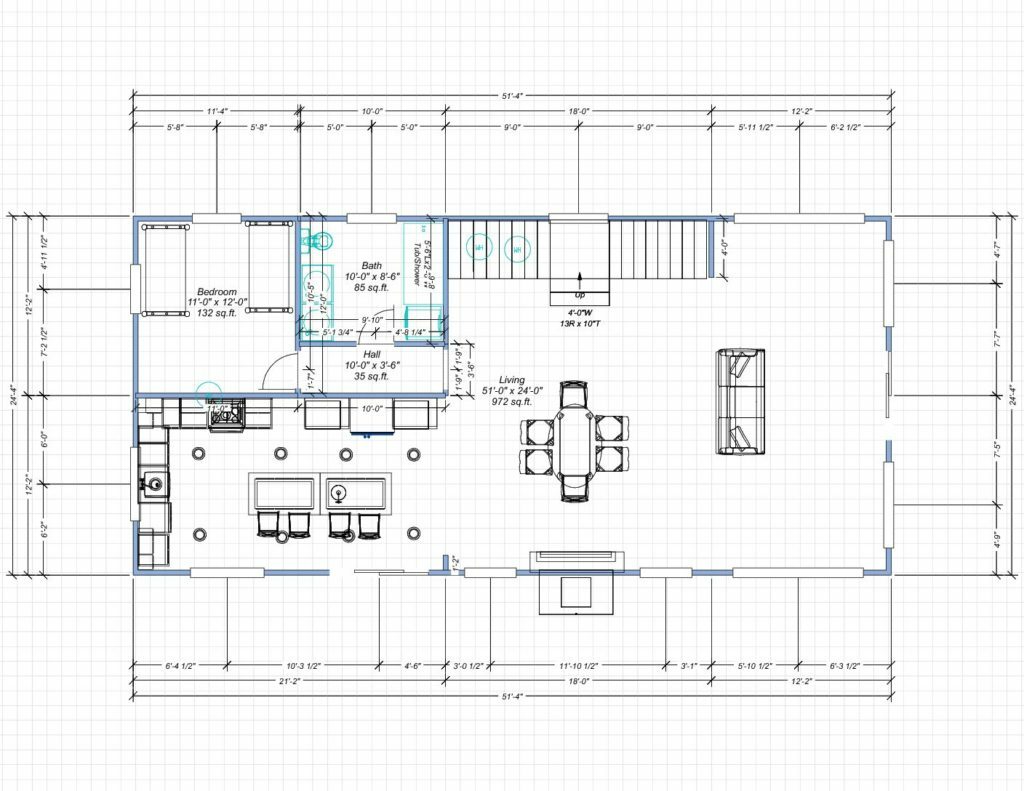
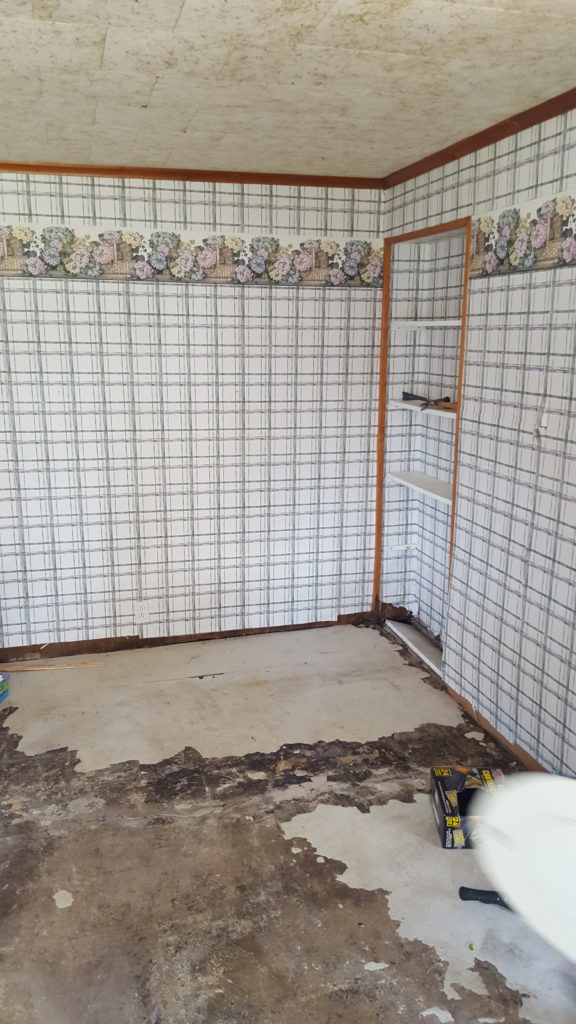
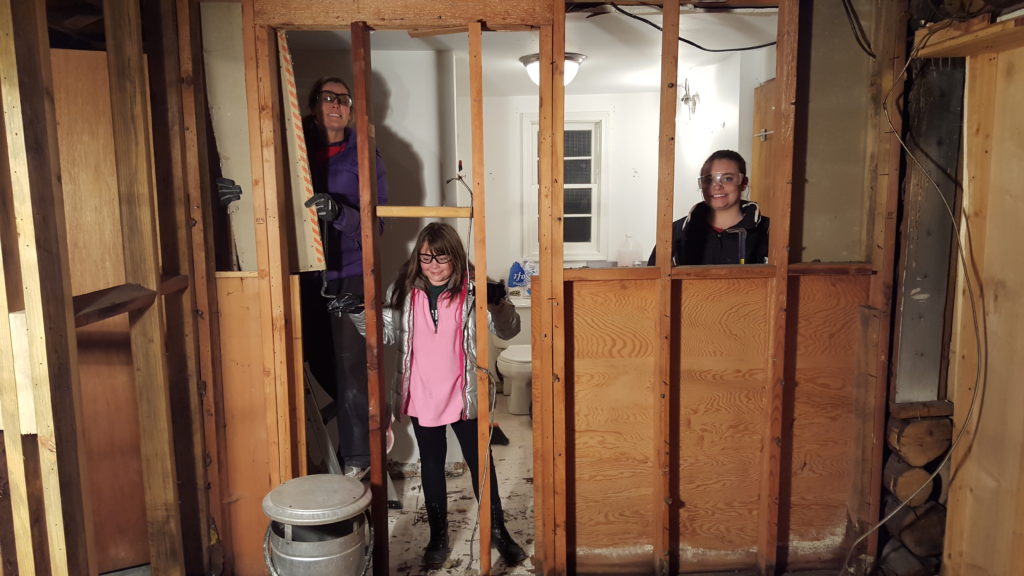
The initial first-floor bathroom had a pass thru to the back bedroom. Yes you had to go through the bathroom to get to the back room. We made the bedroom smaller (thus adding space to the kitchen), created a hall, and moved the plumbing to allow for a nice-sized bathroom with no pass-through. We added a wall of windows in the kitchen and in the front sunroom area.
The original stairs did not meet code requirements, so we reworked the stairs and added a larger landing.
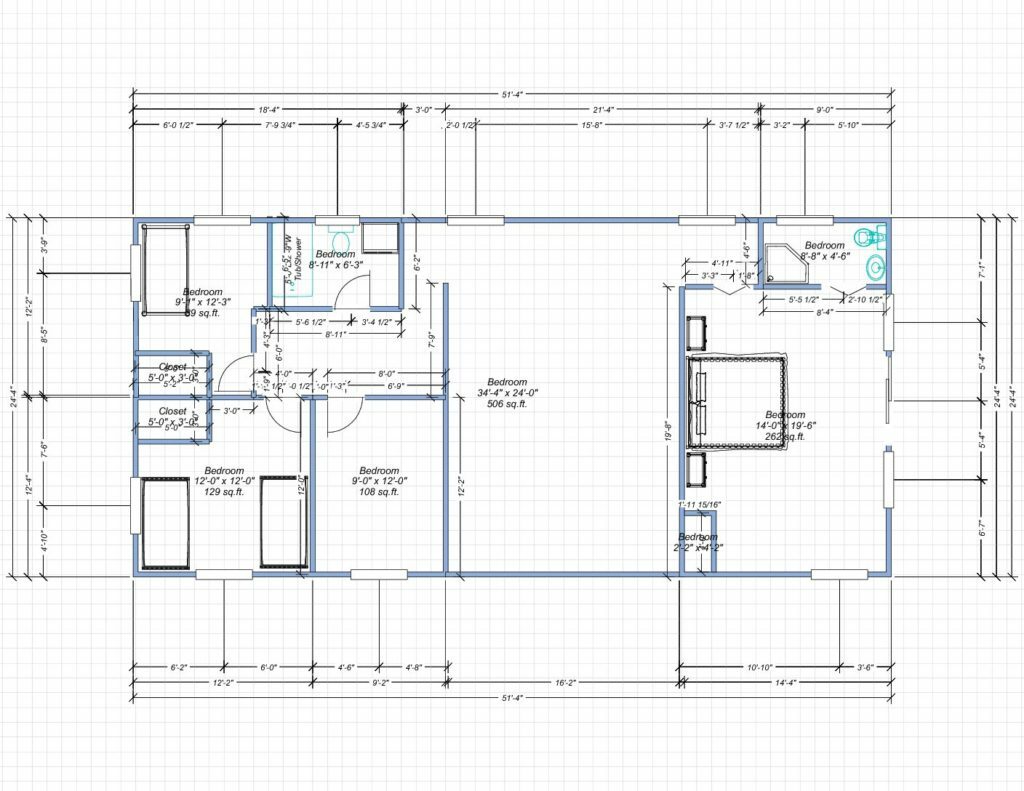
The upstairs also needed reworking. When we purchased the cottage, there was only a toilet and a sink upstairs with no bathroom on the master bedroom side. We took space out of the 4th bedroom to add a tub/shower enclosure to that bathroom . Then we need to plan the master bedroom bathroom. Since we wanted to maximize the lake views from the master, we added a sliding door wall and 5 additional windows. The drawing was modified even further so that the lakeside of the cottage had symmetry with the window placement. The entry of the bedroom was changed to allow for this new bathroom.
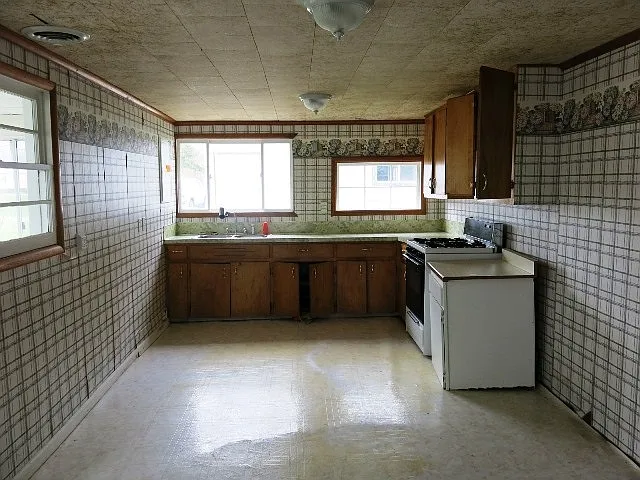
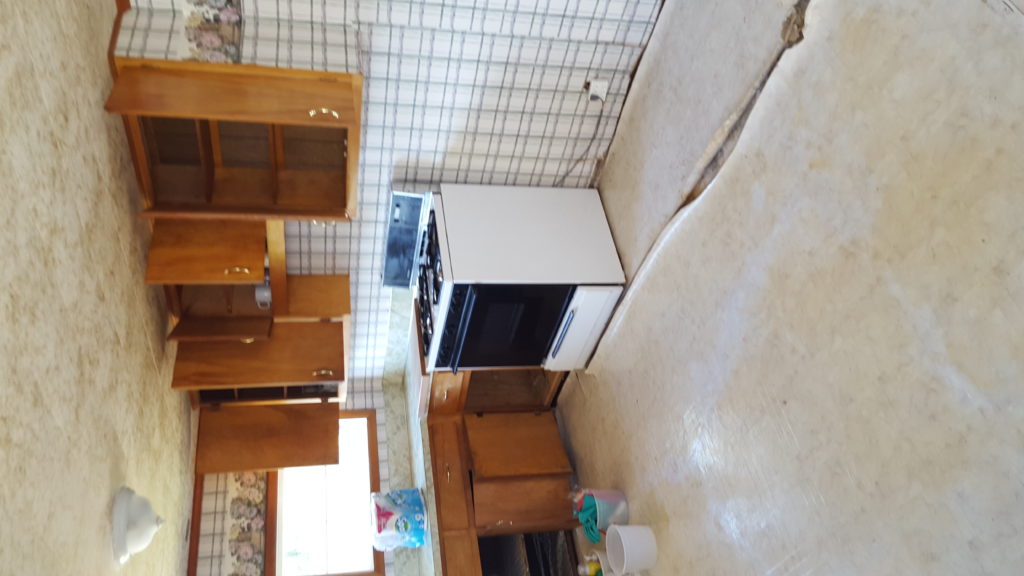
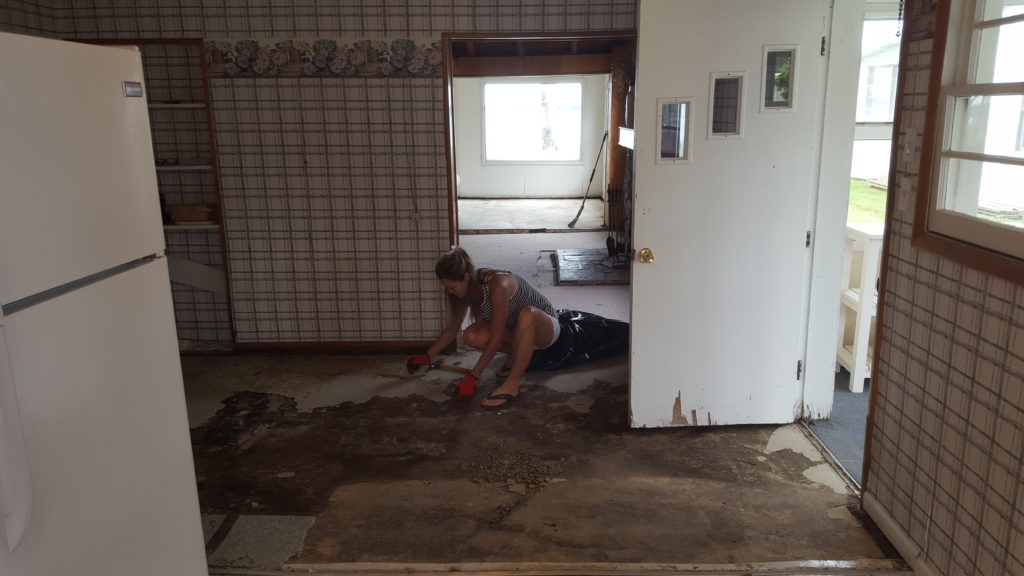
THE KITCHEN
The original kitchen was very dark because a mudroom porch was attached to the cottage and blocked any view of the lake. The kitchen sink drainpipe was broken, and all contents from the sink drained outside onto the ground. (This was a foreclosure, so I am sure the pipe was not winterized properly).