The kitchen in our original cottage was probably built in the 60’s based on the counter tops and the handmade cabinents.
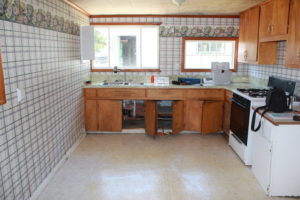
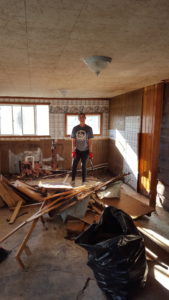
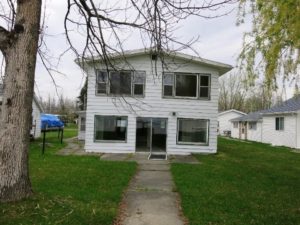
The above picture is how the original cottage kitchen looked. The kitchen was very dark, with only two miss matched windows on the back wall. There was also a third window close to the main door into the kitchen, but it was very dark because of the screened in side porch. The main kitchen only had a small opening to the other parts of the cottage, and there was no lake view.
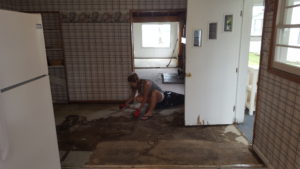
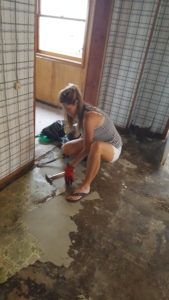
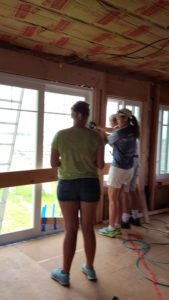
The flooring was glued down linoleum onto the concrete slab. The concrete under the linoleum had started to move and crack from the years of settling. The picture above is me trying to scrape off the glued linoleum. The entire cottage smelled of rot and mildew, not necessarily an appealing place to make or eat food.
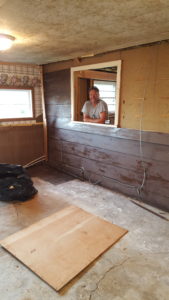
The prior owners covered up the 70’s paneling with wallpaper, a great attempt to take the cottage out of the 70’s, but forgot about the modeled ceiling tile that remained, stained and damaged.
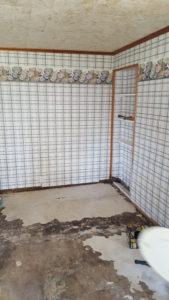
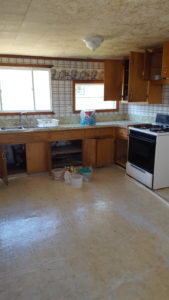
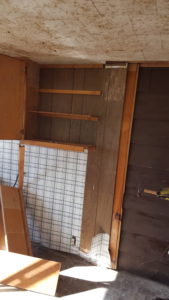
The picture above is of the dining area on the other side of the kitchen. It had a little build in in the right corner, when we tore off the 4 layers in the kitchen we found it to be the original log cabin entrance. More on the layers to follow……
The kitchen cabinets were not salvageable. After years of the cottage flooding too much mold had gathered, plus as we later found out, the kitchen sink literally leaked right outside the cottage onto the ground and the back wall of the cottage. I found this out one afternoon when I was pouring milk down the drain and wondered why there was white foam outside the back window. The kitchen sink only drained to the outside on the ground. YIKES!!!
SO WE DECIDED THAT THE KITCHEN HAD TO BE GUTTED!!!!
One afternoon Jim and I went up to wait on a foundation contractor, and at 2 in the afternoon we started to rip out the cabinets.
Something I realized early on in the remodel is that it is so so easy to tear things apart, but so much harder to put it back together.
With the cabinets now reduced to a heaping pile on the concrete, we proceed with the walls of the kitchen. Just as a side note, during everything that we demoed and took out of this cottage, we only got 2 dumpsters for the entire remodel, just to remove the old windows, doors and ceiling tile. Most of the wood we burned on on site. Not sure this is environmentally friendly, but we probably burned at least 4 dumpsters worth of debris. At least it did not go into a landfill.
MOVING ON TO THE WALLS!!!
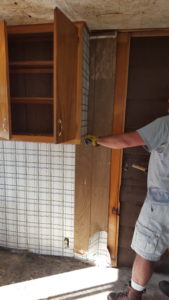
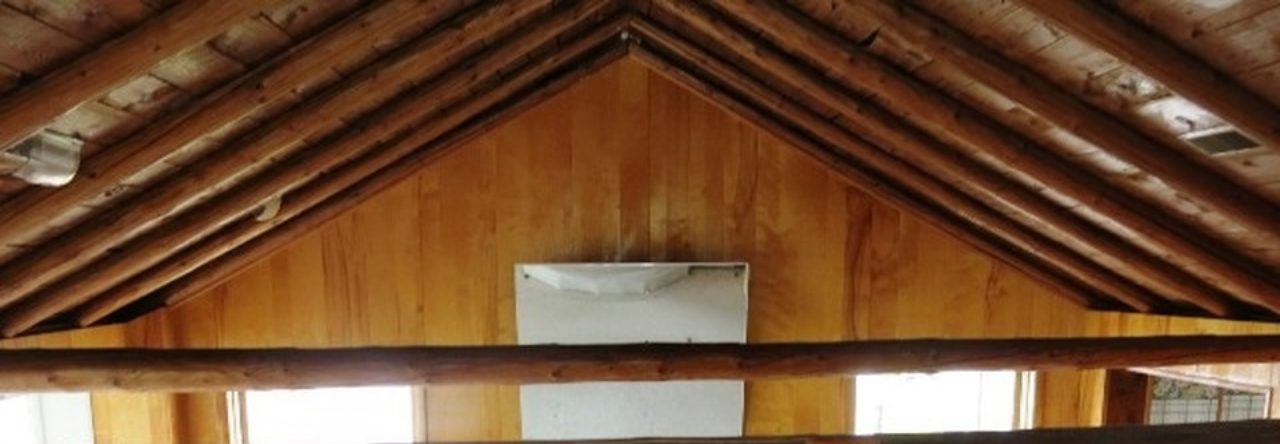
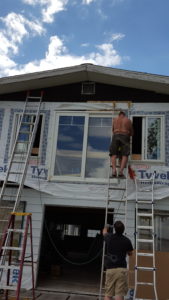
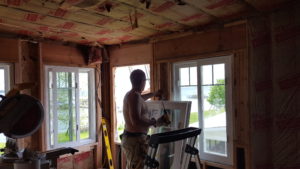
As I mentioned earlier in the post, the prior homeowner had covered over the original 70’s paneling with the wallpaper. So we thought that we just had to remove the paneling and that it would be an easy demo. If anyone has ripped off paneling its a fairly easy job. (in this cottage reno we have ripped off paneling in every single room of this 5 bedroom cottage). It was easy, but we found another layer of wall under the 70’s paneling, and it was 1950’s knotty pine paneling, beautiful but the bottoms of the paneling had been damaged by the constant flooding. After carefully removing the knotty pine(I had plans for that later) and placing it in our garage. We found yet another layer behind the knotty pine, 1 x 10 wood clapboard siding. Below is a picture of the different layers in the kitchen. This clapboard was painted and was at one point the exterior of that part of the cottage. One thing that always puzzled me during our renovations, was why in the world did they not rip off any of the old material. In fact throughout the cottage they just build layer upon layer. And finally behind the clapboard was brown Armstrong fiberboard insulation. In all we demoed the kitchen walls 4 times to get it down to the stud level.
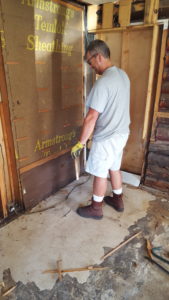
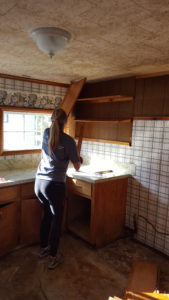
Above Jim standing where an original exterior window had been.
To the right and left are the different layers in the cottage’s kitchen.
NOW TIME TO REWORK THE WALLS AND SHOP FOR CABINETS
Now I went into this renovation with the idea that I would try and get as many items on sale, at thrift stores or anything else that would save us money. Since this would be our weekend vacation home, bought as a foreclosure, I knew that the budget would be tight. So i decided I would shop frequently at our local Habitat for Humanity.
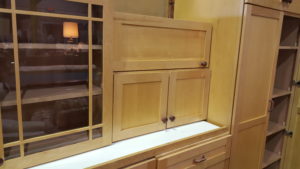
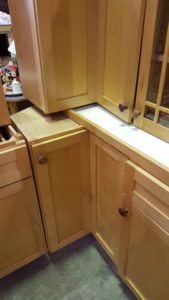
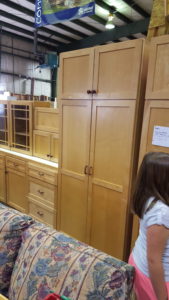
After a few purchases at Habitat, I walked in one day and saw a beautiful full set of maple cabinets. Shocked at the number of them, I inquired about the price, they were $1200 dollars for all of them. I could not believe it, sent Jim a text with a short video, and decided right then we were going to use these cabinets to try and say money in the kitchen. Below are the photos as they sat in the store:
Little did I know but it would be almost two years after I bought them at they would end up being put into the kitchen up north.
NEXT STEPS IN KITCHEN REMODEL…..
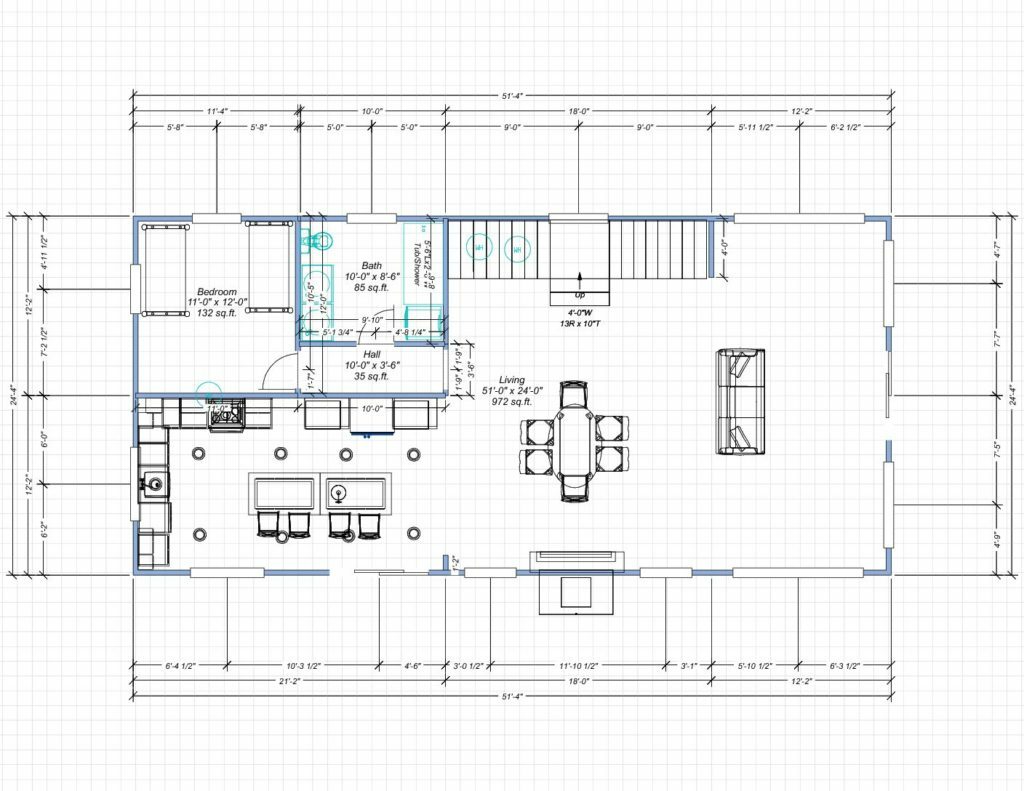
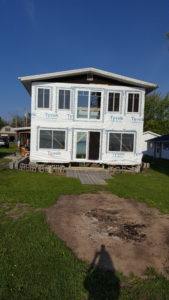
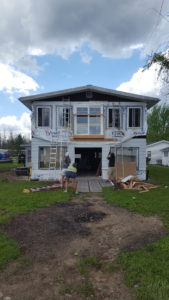
We decided that a new kitchen layout with new windows and doors were needed. We spent the winter deciding where new doors and new windows would go as well as moving the side wall of the kitchen over by 18 inches
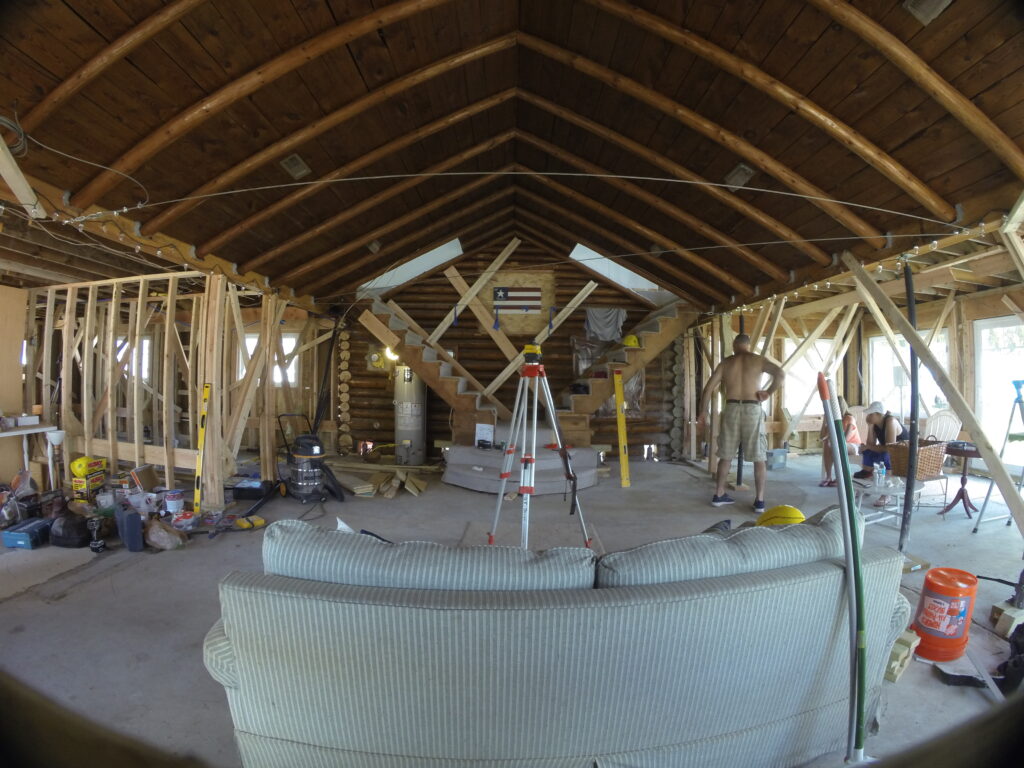
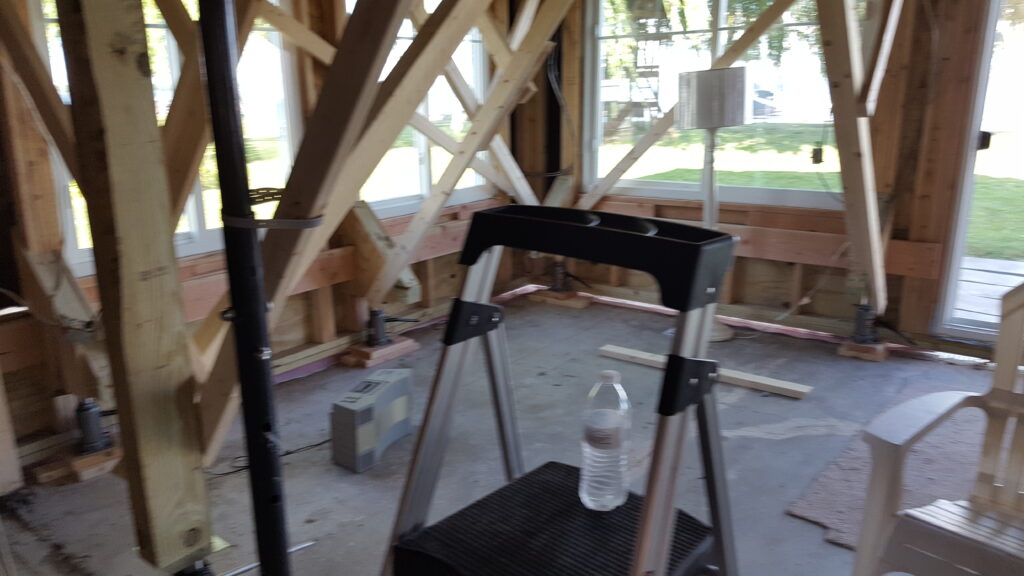
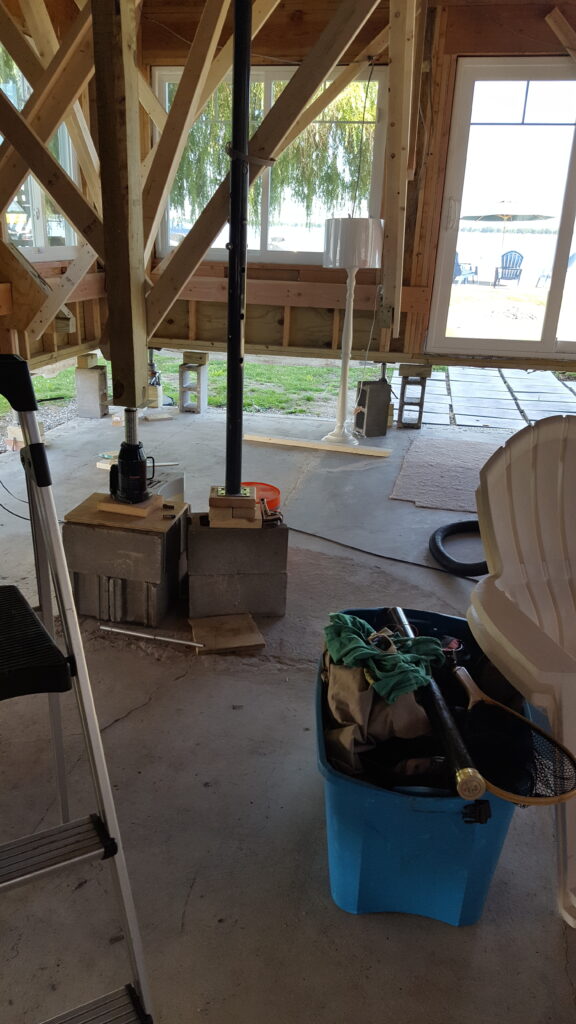
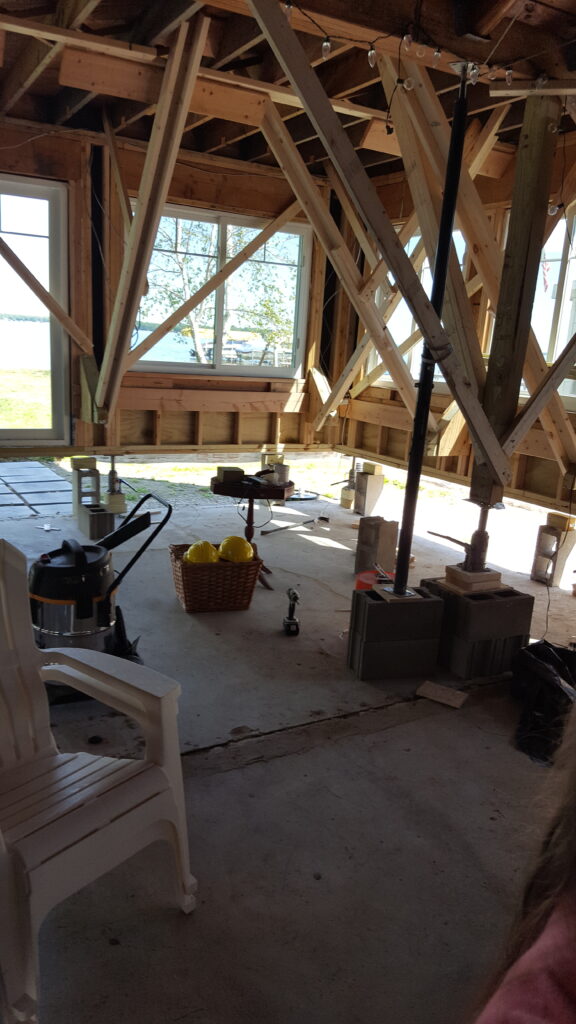
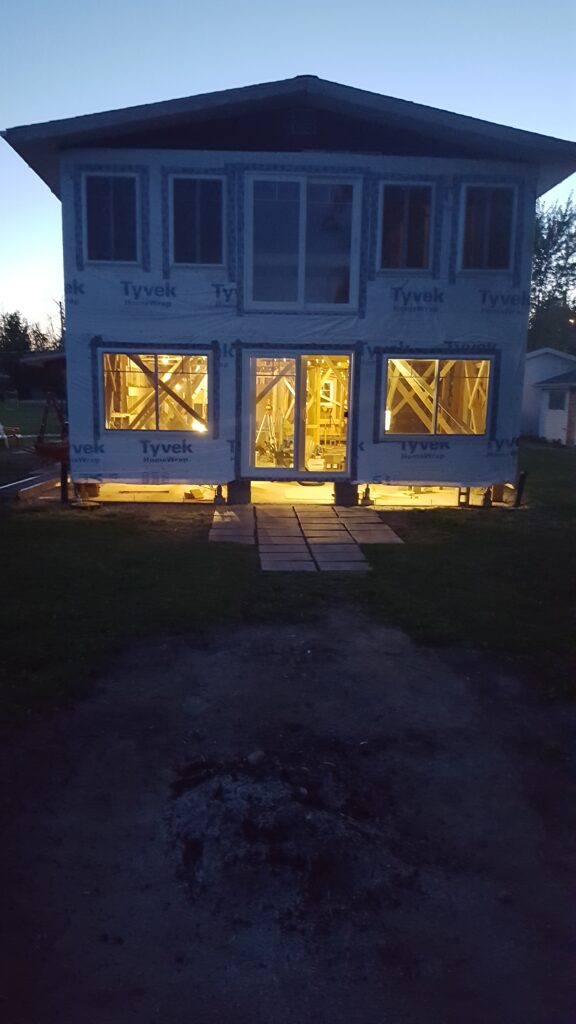
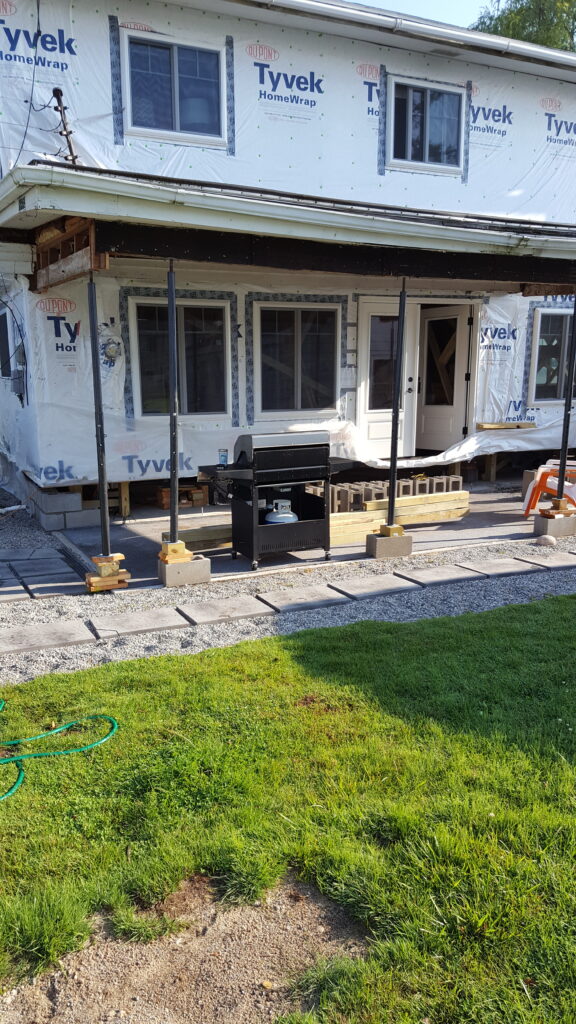
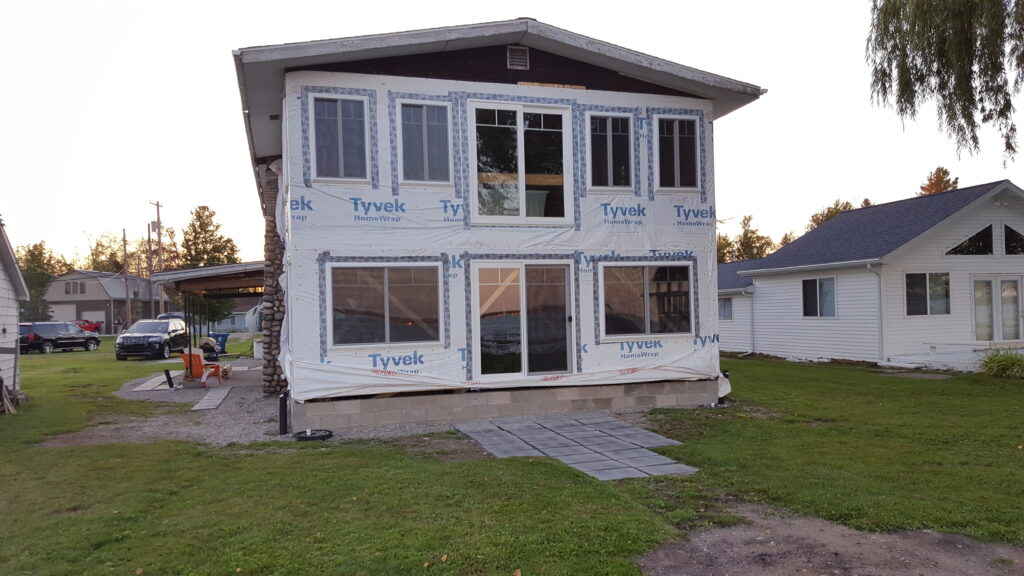
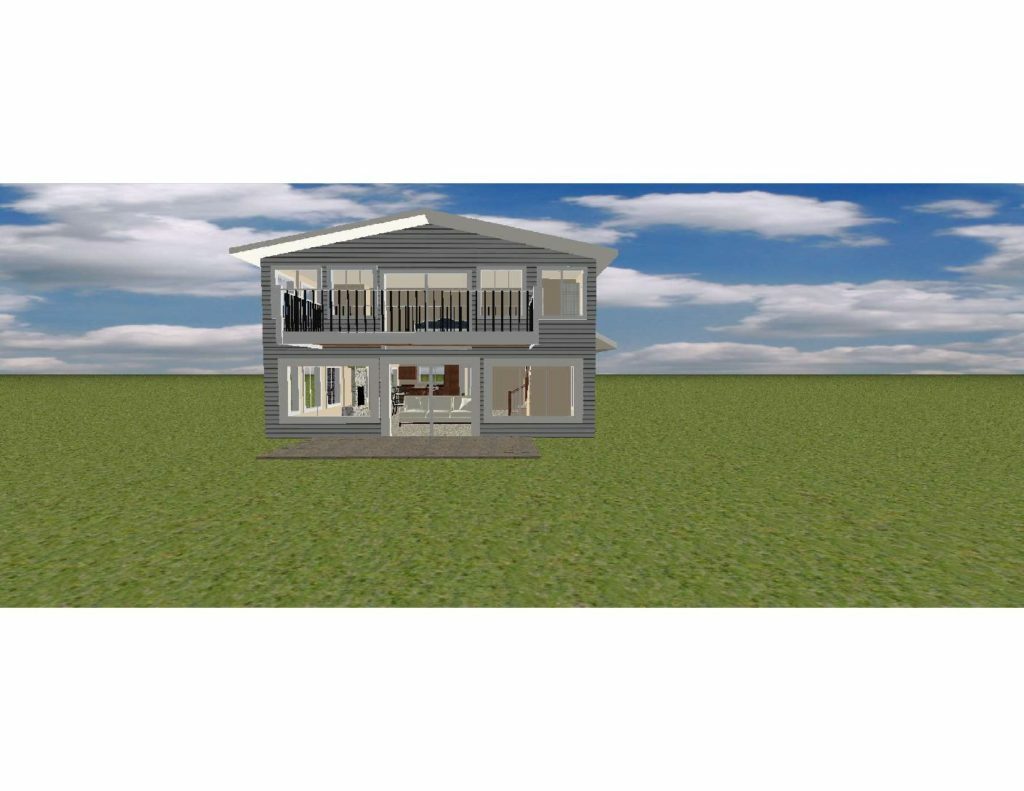
Then came the rest of the remodel, moving walls, new electrical, new HVAC, and LIFTING THE ENTIRE COTTAGE and putting a new foundation under it….
Thus our 2 yrs before the cabinets went in, more posts to follow…………………
Read More
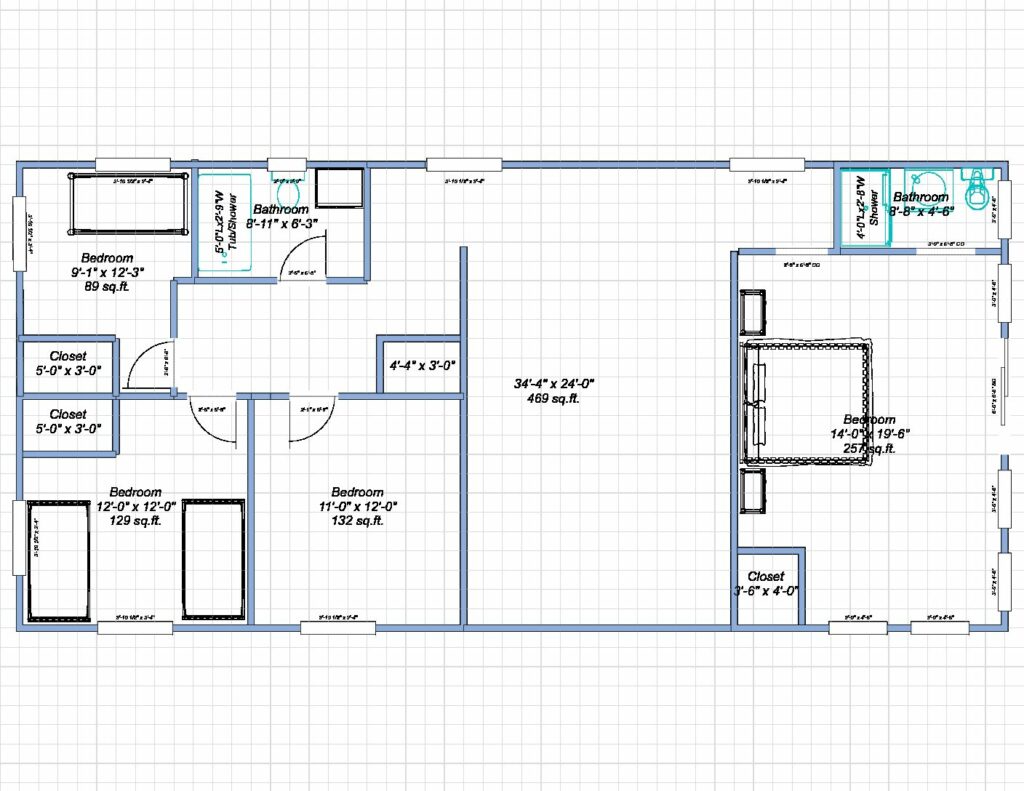
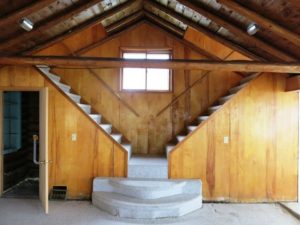
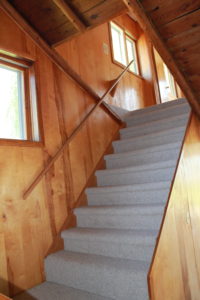
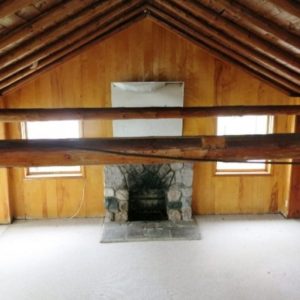
 So now that problem was solved we went about trying to fix the interior of the cottage. The upstairs was fine, just outdated 70’s paneling. We spent quite a few weekends painting the 70’s paneling white and cleaning so we could stay there during renovations (our house is a 3 hour drive from the cottage)
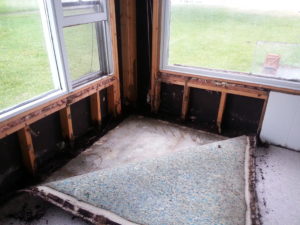 cottage had flooded, the sill plates had rotted away. Along with the sill plates, the 2 x 4 walls were also rotted. The front of the cottage was only held up by two large nails.